Thursday, May 5, 2011

Sunset scene... Again

I know I just did a very similar card, but I just LOVE that technique, and since I finally got my very own wildflower shilouette stamp set, I thought it was a good opportunity to do this technique again.

 This is it:


I used three different stamps from this set plus some birds and a butterfly from two other stamp sets.

These are the challenges this card has been entered into:

Claudia & Company - Butterfly
Top Tip Tuesday - Open Challenge
Crafts 4 Eternity - Anything Goes
Etsy Inspired - Imagine Studio
Pear Tree Designs - Free For All
Kraftin' Kimmie Stamps!! - Are you ready for May... flowers?
Paper Cutz - Anything goes
Craft Your Passion - Anything goes
Sparkles Forums - Anything Goes


Dailly
 

Birdbath

As soon as I saw that stamp I just had to have it.
And then it arrived, and for two days I just looked at it, caressed it with my fingers, planned on things to create with it.

The border punch I saw at a friends' creations and fell in love with it. It did take me a while to actually buy it, but now that I have, I'm sure it'll be a feature in many creations to come!

This is one of them:


The butterflies were stamped with a different stamp from the same collection, and then carefully cut by hand: 


These are the challenges this card has been entered into:

Claudia & Company - Butterfly
Top Tip Tuesday - Open Challenge
Crafts 4 Eternity - Anything Goes
Cutie Sunday - Points
Etsy Inspired - Imagine Studio
Pear Tree Designs - Free For All
Kraftin' Kimmie Stamps!! - Are you ready for May... flowers?
Paper Cutz - Anything goes
Craft Your Passion - Anything goes
My Mum's Craft Shop - Cute & Girlie
Wags 'n Whiskers - Use die cut or punch
Sparkles Forums - Anything Goes


Dailly

Happy Mother's Day

I don't usually celebrate Mother's Day.
My mom died when I was three, and I never really knew her, and I'm not a mom myself.
But I found I had some time this week to create, and with a lot of challenges for Mother's Day, I did a card for that.


When I first started working on the sketch, collecting my bits and pieces  I have to admit I didn't really like this card. But by the time I finished with all the embelishments I fell in love with it!

This card has been entered into these challenges:

A Spoon Full of Sugar - White & One main color
Everybody Art - Sketch
My Time to Craft - Red & White
Party Time Tuesday - Mother's Day Cards
Top Tip Tuesday - Open Challenge
Tuesday Throwdown - Mother's Day Cards
Crafts 4 Eternity - Anything Goes
Crafty Hos' - Strong, Influential Women
Cupcake Inspiration - Mother's Day
Pear Tree Designs - Free For All
Kraftin' Kimmie Stamps!! - Are you ready for May... flowers?
Paper Cutz - Anything goes
Craft Your Passion - Anything goes
My Mum's Craft Shop - Cute & Girlie
Sparkles Forums - Anything Goes


Dailly


Friday, April 22, 2011

Let's take time to enjoy the... bloom

A recently new love of mine is combining stamps. Mostly I do that with sentiments and borders. Take one sentiment and add another to it, to create a whole new meaning.
In this case, I used only a part of a sentiment and than added another, as you can plainly see by the different font used.

Here is my spring card:


These are the challenges it's entered:

AUD Sentiment - Anything goes
Karen's Doodles - Lots of layers
Aly's - Baker's twine
Ann's Ceative Nook - Anything goes with technique
Cupcake Inspiration - Photo inspiration
Pile it on - Smells like rubber
Stamptacular - Magnolia-licious
Kaboodle Doodle - Spring/Easter
The Pink Elephant - color combo
Fussy and Fancy - Spring
Pixie Dust - Spring


Here's how I made it:

1.  Choose your papers and cut them to size:
In my case - the blue background paper is 14 X 11 cm (5.5" X 4.3")
The yellow paper is 9.5 X 6 cm (3.7" X 2.4")


2.  Choose your image, stamp it, color it, and cut a rectangle around it. Round the corners and distress around the edges.


3.  Choose a third paper for the punched border. Punch the border and cut it to be 2.5 cm wide (1")


4. Stamp your sentiment. Mine is composed from two different stamps. Draw a circle around it, cut and distress.


5.  With very sharp scissors cut small lines all around the circle


6. Now we put it all together - Unglued - just to see what it looks like. This is the time to make any changes you want.


7.  I liked my result,  and especially the circle being inserted underneath the other papers a little bit. So I held it firmly in place with one finger, while taking off everything else, and then marked the place with a pencil:


8.  Adding glue to the middle of the circle (careful not to glue the little slits we cut earlier), and glue it in place.


9.  Put glue on the yellow paper (the smaller one) and glue it in place, covering a bit of the circleed sentiment.


10. Add glue to the punched border, and glue it on top of the yellow paper. Make sure both tops are aligned. Cut off any excess of the border.


11. Add tiny dots of glue along the punched border - where you'll want your string to be.


12.  Attach your string and hold it in place for a few minutes, so it would stick.


13. Glue your colored stamped image on top


14.  Now tuck the edges of the string to the back side, and glue them there for a cleaner look


15. Almost done... Now fold up the tiny slits around the circle - where you an see them


16. And add glitter or dimention glue (or both) to those red shoes. I wanted to make them seem like lacquared shoes.


Now you're done. Glue your card on top of a folded card.


Dailly

Birthday Card

Isn't it great that we have holidays now and again? Finally I find the time to sit and create, and the results are cards for challenges in a row...

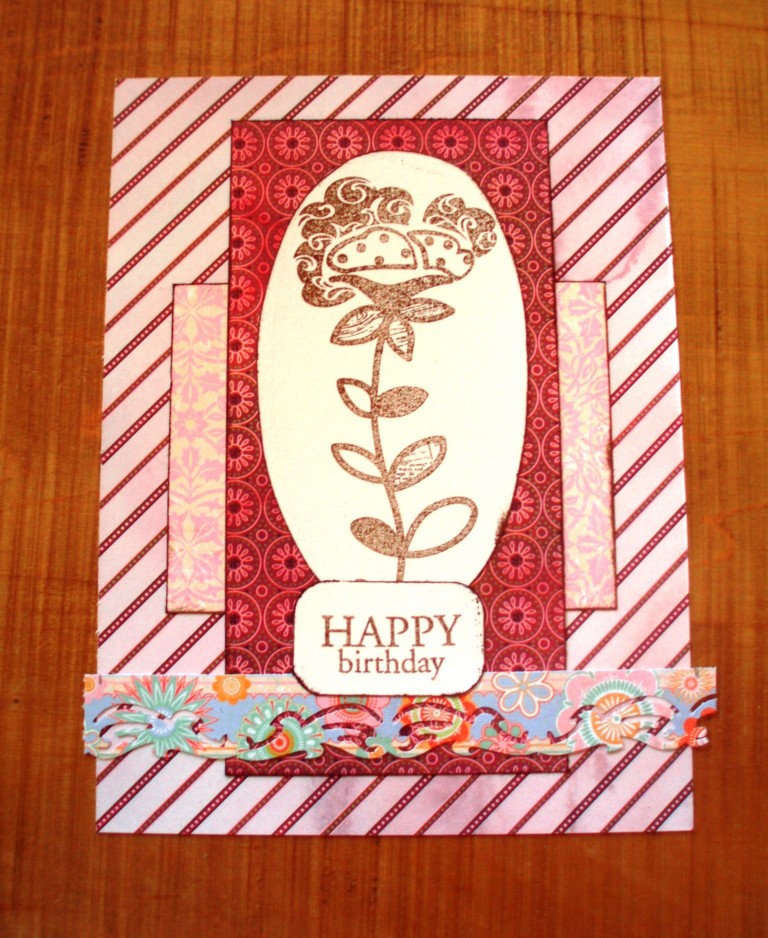
So here's my card, and after the list of challenges It's entered into, I wrote a little tutorial to creating it.


Here are the challenges it's entered:

AUD Sentiments - Anything Goes
Etsy Inspired - Creating is fun
Ann's Creative Nook - Anything goes with a technique
Cupcake Inspiration - Inspiration photo
Stamp With Fun - Birthday
The Pink Elephant - color combo
A Spoon Full of Sugar - Let's celebrate
Hanna And Friends - Pink & Brown
Colour Cretae - Pink, Blue & Brown
Pixie Cottage - Birthday


And here is the tutorial on making this card:

1.  You start by choosing the papers, and cutting them to size.
In this photo - from left to right:
14 X 10.5 cm (5.5" X 4.2") (paper A)
12 X 6 cm (4.7" X 2.4")  (paper B)
8 X 6 cm (3.1" X 2.4")  (paper C)


2. Ink the edges of the two smaller papers (B, C)


3.  Stamp your image on a white or cream cardstock, cut around it in an oval shape, and ink the edges.
Make sure it is smaller in width than 6 cm (2.4") and no more than 8 cm (3.1") long.
(smaller in width than paper B, and no more than 2/3 B's length)


4.  stamp youe sentiment on the same cardstock, cut around it to a rectangle shape and punch-circle the corners. Ink the edges.


5.  Take another coordinating paper, punch it's border and cut it to be 1.5 cm wide (0.6")


6. Now we have all our components, it's time to put it all together.
Take paper C and glue it onto paper A, in the center.


7.  Take paper B and glue it on top paper C, again - centered.


8.  Add your stamed image. Position it like in the photo.


9.  Add the punched border. Make sure to position it below the stamped image, but not too low. We want to glue the sentiment a little over it...


10. Now add the sentiment, a little over the punched border, and a little over the stamped image:


11. Now it's time to finish the card: Trim the excess of the punched border at the sides of the card, and add your blings.
Glue the whole thing onto a folded card, and you're done.


If you decide to create your own version, please share it with ne in the comments section. I'd love to see what you did.

Enjoy,

Dailly

Tuesday, April 19, 2011

It's been a while

It's been a long time since I found the time to create according to other challenges (other than the ones I set up for Tuesday Trio, that is). I finally found some spare time to go over other challenges and was able to create something for several of them.

Here's my card:


The flower embelishment is made with a stamped flower, stamped three times. The first I cut a little larger, to have those pink endges, whoch I colored with ink, the second I glued as is, and the third I glued in the center, and curled the petals upwards. all that was glued onto the pink bow, and then I added a few leaves to complete the look.


The sentiment is a combination of stamps, a rather new love of mine.

These are the challenges I enterd this card into:

Tuesday Trio - Sketch + Birds (My challenge blog, where I'm DT coordinator)
Charizma - Pink, Black & Green
Color Create - Pink, Black & White
Frosted Designs - Handmade Embelishments
Lili of the Valley - Birthday Card
Meljen - Recipe: 3 colors, 2 patterned paper, 1 bow
Paper Romance - paper flowers
Pixie Dust - "Say it out loud" - add sentiment
Top Tip Tuesday - Open Challenge


Dailly


Sunday, August 29, 2010

Yellow Magnolia

I have to admit, Yellow is definitely NOT one of my favorite colors.
That's why when I saw there's a challange called "Tilda in Lemon" I knew I had to participate. That would be a real challange for me - using a color I usually only use for flowers, a little bit of butterflies or other touch-ups. Never as a main color.

I got to tell you - I kinda like what I got:


And here are the challanges I entered this card into:

Die cut dreams - Tilda in Lemon
Kaboodle Doodles - Recipe: 2 patterned papers, 2 plain papers, flowers and/or lace
A Pocket Full of Posies - winged things
 Creative crew - spakle & shine


Dailly


Blue Green Pink Handbag with blings

Does that sound impossible?
I didn't think so.
These are most of the challanges my card enters, and they are only 5 this time.

The stamped image I got from a friend (Thanks kookadoo), the idea for the ribbons from ICS DT member Meredith (Thanks), and the rest just sort of fell into place... 

Here's my card:


 And the inside:


And these are the challenges it's entered into:

Cupcake craft - colors: blue & green
PPC - colors: blue, gree, pink, white
Creative Crew - Sparkle & shine
ICS - Sketch
My time to craft - Handbag


Dailly.


Tuesday, July 13, 2010

Summer Heat

So many blogs have jumped on the summer waggon, that I decided to do the same.
So here is a summery card, with bright and sunny colors.


And on the inside:


The papers are all BG papers. The stamp is a Penny Black stamp, that felt very summery to me. I colored it with crayons to get the naive look of a summer afternoon. I also used a Martha Stewart punch for the "ribbons". A final touch of doodling finished my card.

This card participates in the following challenges:

Tuesday Trio - Sketch and theme
Cooking it up - Sketch from another blog, Yellow & Stitch
Freshly Brewed - Summertime
Whoopsi Daisy - Hot, Vibrant colors
Sir Stampalot - Lazy Hazy days of summer
Lily-Boo Too - Summery cards


Dailly.

Tuesday, July 6, 2010

Adding a link to your comment

I'm writing this post mainly for myself, cause I keep forgeting this code, and it's really usefull.

If you want to add a link to your comment, simply use this code, onlu without all the spaces. The only space is between the first "a" and the "href".
< a href = "link" > text to click on < /a >

It's really this easy and it works!


Dailly.

Working with my niece

Yesterday, while I was just finishing up on some cards, my niece came back from kindergarden (she's five y/o).
Whenever she finds me working, she asks to sit by my side and watch.
Of course, it never ends with just watching, cause she's a very touchy-feely kind of person. She has to touch, to feel. So she picks up papers, glue, embelishments, sometimes even tools I have on the table...
And then I asked her if she wants to help me create a card.
She loved the idea, and this is the card we made.


And on the inside:


This card participates in the following challenges:

Crafts & Me - Birthday cards
Crafty Creations - Ice cream & cakes
Incy Wincy - Punches


Dailly.


Who's afraid of colors?

You know how sometimes you start making a card or a layout, only to end up with something completely different than what you initialy saw in your mind?

That's this card's story.
I started out with a sketch and a color scheme, only to find - halfway through - that  don't really like the color scheme...
So I started adding, and changing, and trying different colors, and came up with a card I really love.  


And on the inside:


This one participated in the following challenges:

Crafts & Me - Birthday Cards
Crafty Creations - Ice cream & cakes
The Creative Cottage - Summer theme
Fab 'n' Funky - Sew 'n' Sew
Incy Wincy - Punches
La La Land - Try something new
Quixotic - Sketch
Simon Says - Check it out

Dailly